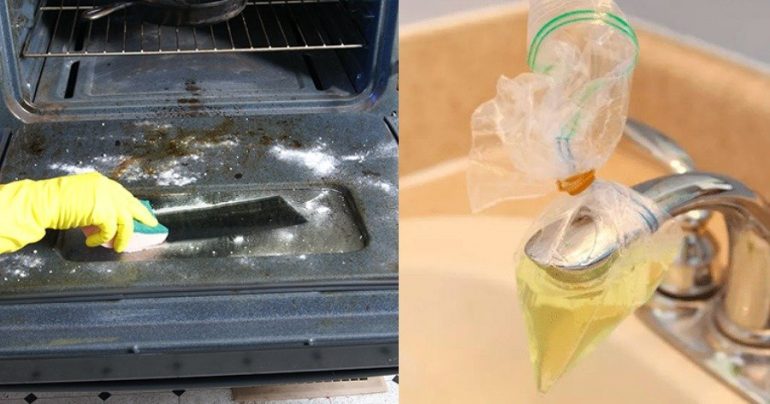
Cleaning the kitchen can be a headache for housewives, however, with simple steps, they can effortlessly have the result they want.
You can clean the whole kitchen from grease marks and dirt. Switches, hood, hobs, microwave, cooker, cupboards and more but will shine with cleanliness.
Follow the following effective and simple steps to make your kitchen shine again. These are very simple steps that will "solve" your hands and will surely put an end to this important problem.
The kitchen is one of the busiest rooms in the house. It is the place where you cook and the room where the whole family gathers to enjoy their lunch. Many times the kitchen is very dirty. It is full of fats and marks that spoil the aesthetics of ourselves and our guests.
These greases and marks are in areas of the kitchen that are not easily cleaned. The longer we allow the dirt to accumulate, the more difficult it is to clean it afterwards. But we want our house to be clean and tidy, both for the beautiful appearance and for the proper hygiene.
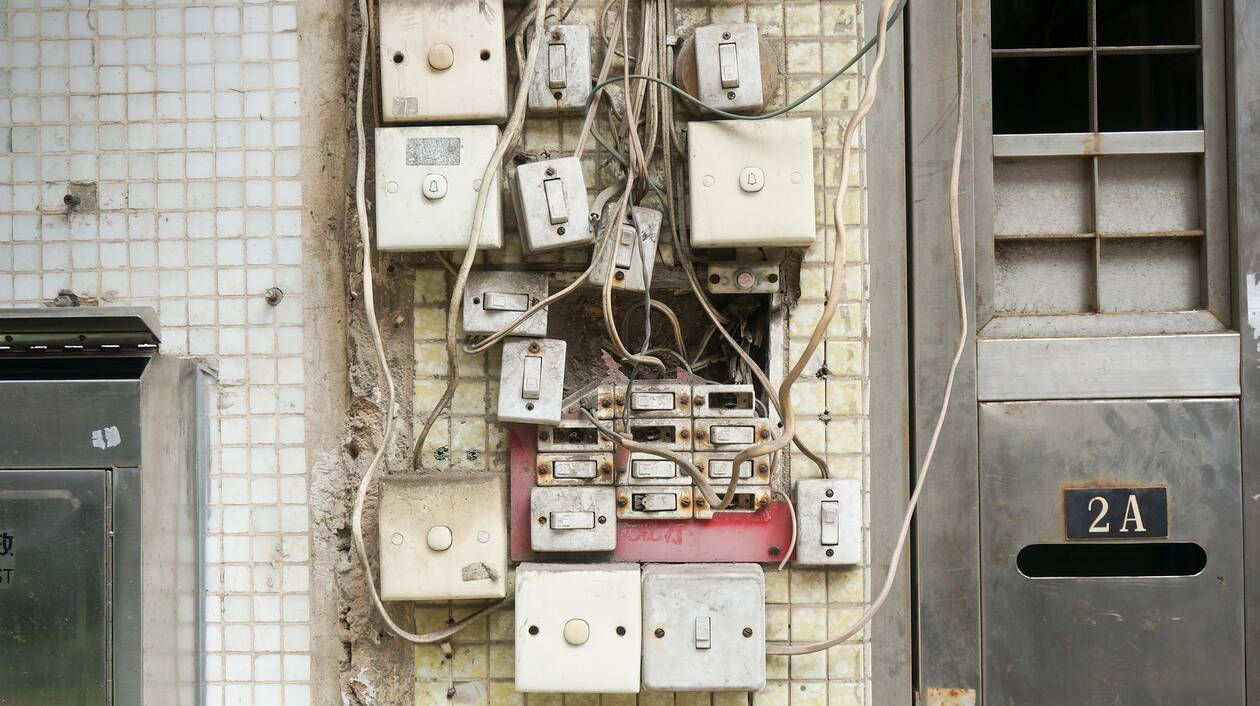
Kitchen switches are one of the most common germs in the room. This is because we touch them very often in everyday life, to turn on and off the light, to regulate the temperature of the coke oven.
Usually people in a general house, forget to deal with the switches that are either in the room or in our oven. So in general, we should clean the specific areas thoroughly with bleach, water and maybe a little detergent for the perfume. Make sure the mains is lowered.
The kitchen door is in the same category as the switches. When we say "door" we do not mean only its wooden surface, but also its handle. The kitchen door is not cleaned often because we forget it.
However, it collects a lot of germs since we touch it constantly. Therefore, clean it often, with water and a little detergent.

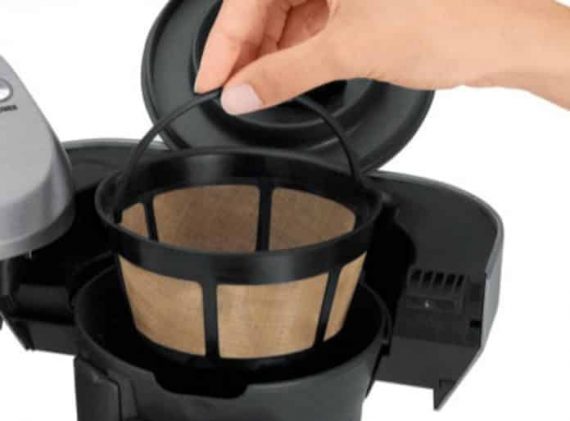
The coffee maker is one of the favorite appliances in the house, as it makes the favorite drink of many. But it is also very dirty as it collects a lot of bacteria. So you should often clean it both externally and internally with water and a common detergent.
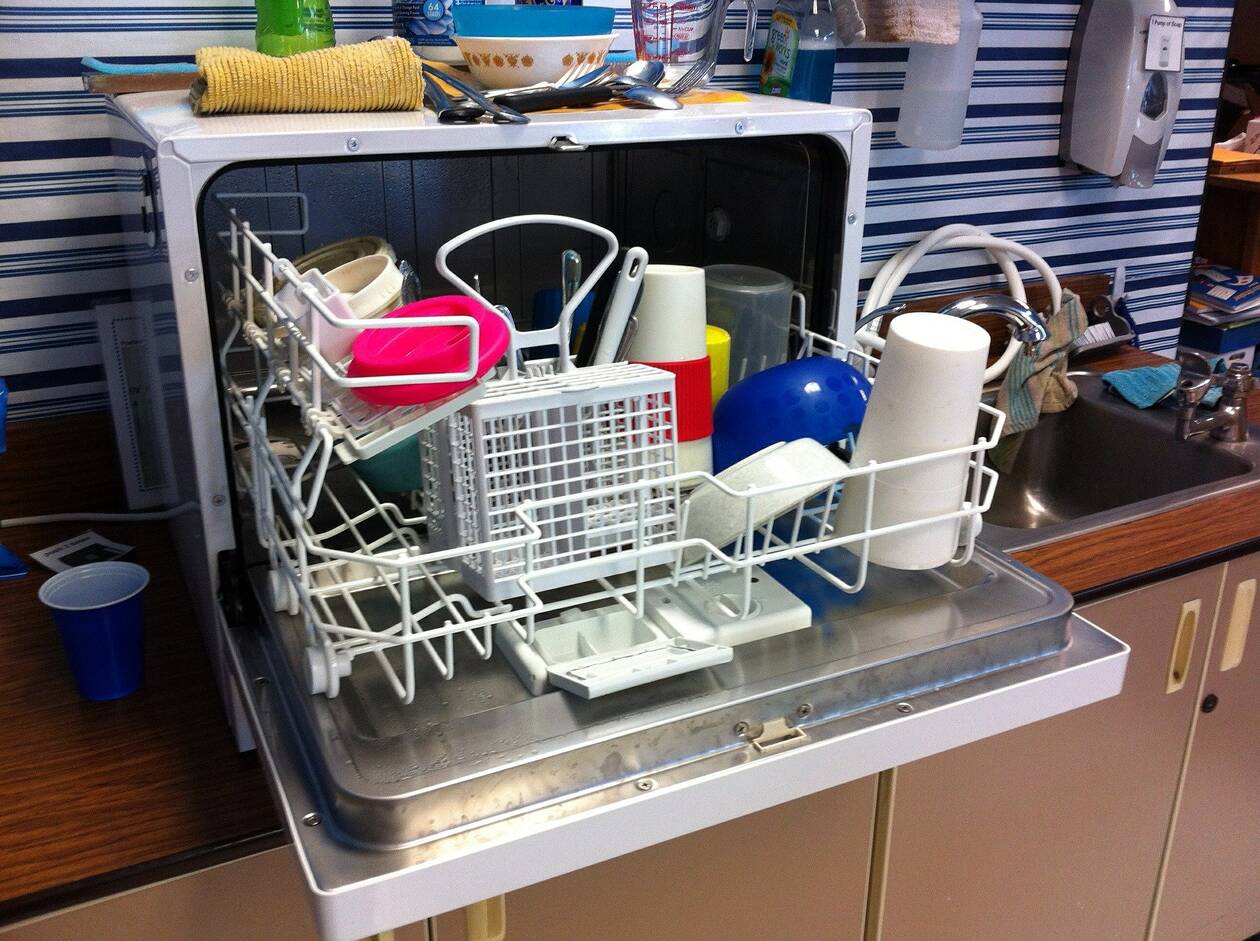
The interior of the dishwasher may look unbelievable but needs frequent cleaning. It is a device that cleans our dishes and kitchenware. So if you do not clean thoroughly and often, the bacteria that it collects are transferred to our utensils. Check with a technician to clean it.
Most germs and most dirt are often concentrated under white appliances. This is because usually the broom and the mop do not fit in the specific places. So we have to devote more effort and time to polish the specific points.

The curtains should be washed in the washing machine often, because if the curtains are dirty the space smells bad and of course the image is unsightly.

The same goes for the trash. It is not enough just to change the garbage bag. You need to clean it regularly so that it does not smell bad and of course to keep pathogenic microorganisms away.
First of all, remove the rubbish and debris left in your bin.
You need water, vinegar, baking soda and a spray bottle. Put enough white vinegar in the spray bottle, dilute it with water and generously spray the bucket. Sprinkle with enough baking soda.
Fill the bucket halfway with lukewarm water, hold it with both hands and stir the water in the bucket in a circular motion, so that the disinfectant mixture reaches everywhere.
With a long-handled cleaning brush, scrub the inside of the tub thoroughly to remove dirt and odors. Stir once more and pour the dirty water into the toilet bowl. Rinse with clean water, filling and emptying as many times as needed and finally dry it with a cloth or towel.
The process of careful washing is not always an option - time can be limited and there is a lot of work. So, if you want to get rid of bad smells you can use one of the following natural materials that will make your bucket smell like musk.
After removing the garbage bag from the bin, sprinkle the inside with baking soda (the ultimate natural disinfectant!). Leave the soda on overnight and rinse the bucket the next morning.
Baking soda is only recommended for plastic bins, as it may damage the metal.
The peels of oranges, lemons, tangerines or limes are natural air fresheners. Throwing some in an empty trash can and leaving them for a few hours will solve the odor problem.
Do not leave the peels in the bin for too long, as you risk seeing them deteriorate, mold and make the situation worse. Ideally, use dry peels.
Leave a few used tea bags in an empty bucket overnight and bad odors will be replaced by a natural smell of freshness.
The hood needs cleaning more often than we think. It filters the vapors and odors from our food, so it collects fats and bad smells. So you need to clean the outside of the hood as well as the filter.
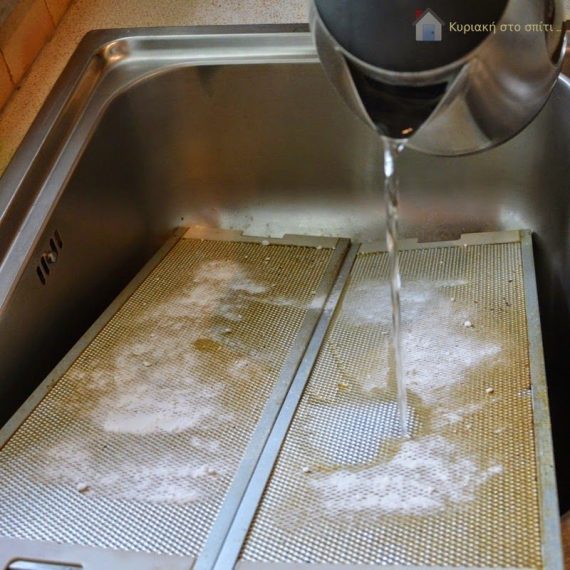
After all, if the hood filter stays dirty for a long time, from one point onwards the hood will not work properly.
Before cleaning the hood, it is essential to unplug it or turn off the main switch. Once you have done that, it is time to disassemble. You can not clean the filters if you do not remove them, nor the inside of the hood. So take out the metal protective mesh to release the filters. Remove them and place them in the sink temporarily so as not to soil the kitchen surfaces.
The inner part of the hood now has a series, since the filters are missing. To remove grease and dirt, use a cloth with detergent or dishwashing liquid and rub gently to remove them. After removing the residue, you will need to disinfect the surface. A little alcohol and kitchen paper are enough. This step is quite important for hygiene reasons. Remember that it is not unlikely that your food will receive drops of water vapor and you certainly do not want them to contain germs and dirt. After that, the inside of the hood will be ready to receive your clean filters!
Filters are the most basic part of the hood mechanism and are partly responsible for its proper operation. Depending on the type, the frequency and the way they are cleaned or even replaced. In any case, their correct and frequent maintenance will guarantee the longevity of your hood and its efficiency in performance. The only and easiest way to clean them is to remove them and then follow the instructions according to their type.
Metal filters have an unlimited lifespan as they do not need to be replaced. Their use is not temporary and consumable. However, in order to remain functional and useful, it is recommended that they be cleaned every three months. Baking soda can also be used in this case to clean the hood.
What will you need to clean the metal filters of the hood?
-Hot or even better boiling water -Baking soda -Liquid dishwashing liquid -Dish brush -Towel, cloth or kitchen paper
There are two variations on this process. The main job will be done by hot water with baking soda. These will remove dirt from the metal filter. How you do it is up to you.
First, in a saucepan that has started to boil water, start slowly pouring spoons of baking soda. Be careful not to overflow the foams and create stains in the kitchen eye. Then, dip the filter first on one side and then the other in the pot and leave each side for a few minutes while the water boils. You will quickly notice that the dissolved fats will rise to the surface of the water. When you are done with both sides, let them dry and put them in place. If your filters have stubborn stains and the grease has dried, you can repeat the process.
A more immediate process using the same materials is to dip your filters into a large surface instead of a pot. Ideal is a large wide and shallow pan or even in your sink after you close the cap and fill it with water and soda. There it will be easier to rub your metal filters at the same time. After you have left the boiling water with the soda to act, take a brush and a little liquid detergent and rub the grease. Once you are sure that you have removed most of it, immerse it for a few hours and then rinse with hot water. After wiping them with a cloth they are ready to return to their place in the hood!
Many hoods use carbon filters that are responsible for dispersing odors. Cleaning the hood is not recommended in this case. These filters are not cleaned, ie they are not washed but only replaced. The most appropriate frequency is usually the change every four months. You should consult and buy them from their manufacturer or find the compatible ones in the market.
Even in this case you can not clean or wash the dirty filters. It is recommended to change them every two months or whenever it is observed that they change color. You will definitely find economical solutions in the market!
Never forget to read and consult the instructions for use of an electrical appliance. So when cleaning the hood, do not ignore the small but important details that the instructions for use will indicate. If you follow the correct procedures and do not neglect regular cleaning and maintenance, your hood will stay alive for years!

Kitchen cabinets, which are often caught with food-soaked hands, often accumulate dirty grease. To clean them, mix one part seed oil with two parts baking soda to form a paste. Then take a sponge or even an old toothbrush and scrub well! Wipe with a dry cloth and… ready!
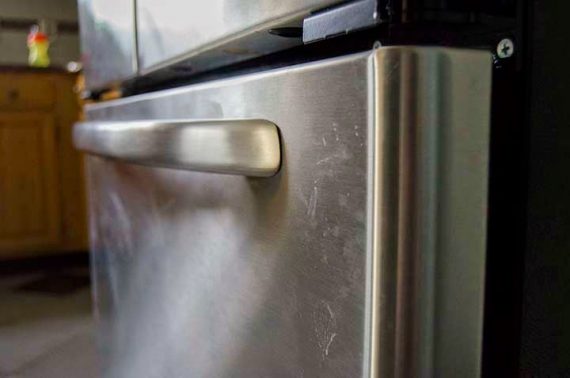
To remove rings and other stains from stainless steel refrigerators, make a solution of 1/3 water, 2/3 white vinegar and a few drops of dish detergent. Put the solution in a spray bottle, shake well and spray the refrigerator. It is essential to wipe dry with a microfiber cloth - like this.
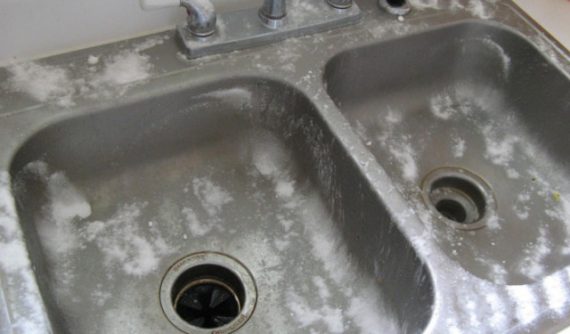
To clean the stainless steel sink, spray the whole with vinegar (which you have put in a spray bottle). Pour baking soda on top. Leave it like this for 10 minutes. At the same time, boil water, with which you will then rinse the sink. Add a little more vinegar and scrub the sink with a sponge. Then if you want you can spray with a sink cleaner and wipe it. In the end, if you want to give it its old shine, you can pass the sink with a cloth "soaked" with a little olive oil.
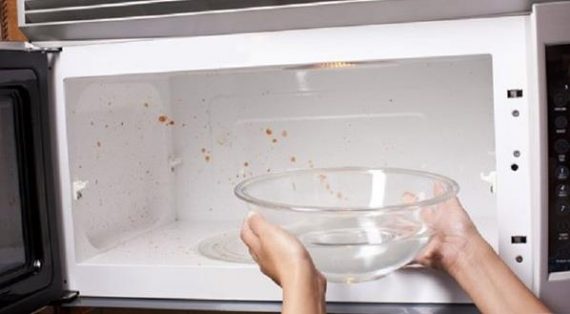
Put a part of water and a part of vinegar in a glass bowl, place it inside the microwave and turn it on for 5 minutes. The steam will dissolve any stain that has stuck to the walls! Wipe, finishing, with a dry cloth.
Mix in a bowl equal days of vinegar and water. Dip an old sock into the solution and wipe the blinds with it. It is useful to have a second, dry sock to wipe the blinds, after "passing" them with the wet one.
Cut a lemon in half. Dip half a lemon in the salt on the wet side. "Brush" the kitchen brass with lemon and salt and wipe them with a dry cloth.
Use the cleaning brush for baby bottles! And detergent, of course…
After a while of use, the glass bottles of water smell… awful! The best way to clean them is as follows: Put water and a small amount of bleach in the bottle. Leave it for a while and then clean it thoroughly with a bottle brush (like this). With a toothbrush you can rub the cap of the bottle well. Then rinse well and put a tablespoon of baking soda in the bottle. Fill it with hot water and leave it overnight. The next morning rinse well and wash the bottle regularly with detergent. Let it dry very well and it is ready!
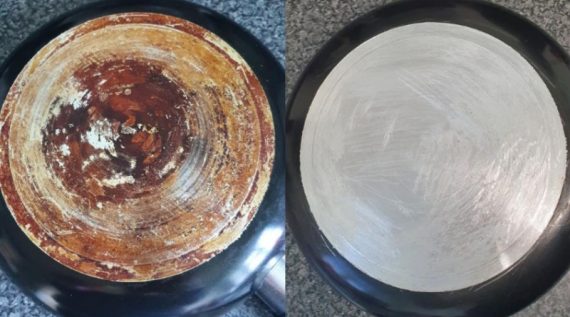
Cover the bottom of the pan with water. Add a cup of white vinegar. Put the pan on the stove and light it to boil the water. Once boiled remove and add 2 tablespoons baking soda. Leave it for a few minutes. Drain the solution and wash regularly with a sponge and detergent.
If there is yellowed cheese residue in the grater, grate a raw potato with it. The hardness of the potato together with its oxalic acid will remove the stuck cheese residues.
Take a white onion, peel it, cut it in half and nail a fork to the top of one half. Using a fork as a handle, rub the onion well on the grill, while it is still hot! The onion will remove the remnants of charcoal - and will give flavor to your next roasts.
When the glassware is washed several times in the dishwasher, it slowly acquires an unsightly haze. To eliminate it, take a little roll of kitchen paper and dip it in vinegar. Squeeze it so that the vinegar does not "run", and rub the glasses well with it. Then rinse with water and let the glasses dry!
It is very important, for reasons of hygiene, that the wooden cutting discs be clean of food debris that remain in the grooves. To disinfect them, cut a lemon in half and rub the inside of the tray well. Then cover the tray with coarse salt and leave it for 10-15 minutes. Use the lemon again to rub the salt on the tray now. Finally rinse well with water and allow the tray to dry!
If your pyrex has burnt and stuck food residue, make a ball of foil, add a little dishwashing detergent and rub the dirty spots well.
via
